| Image |
Title |
Date |
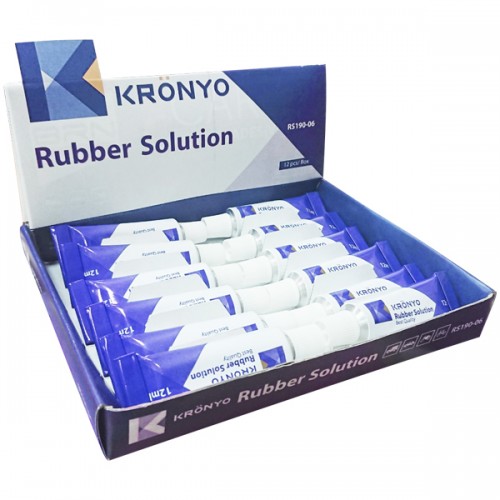 |
RS190-06 Rubber Solution
Rubber SolutionColor box packing/ boxesSpecification:Rubber Solution 12ml12 pcs/ 1color boxPacking12 pcs/ color box100 color boxes/ CTN. 1.Rub off the part to be mended larger then the patch in size.2
|
2026-05-14 |
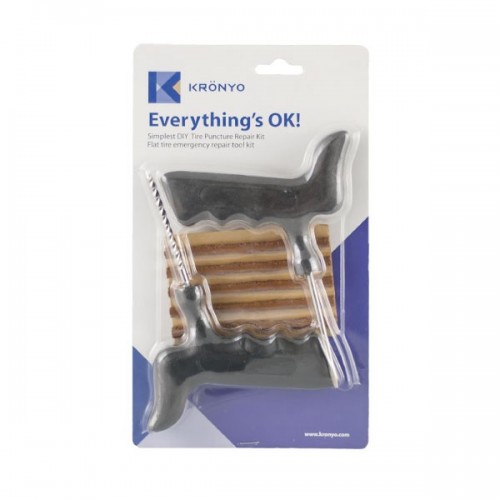 |
TCAR-64 Tire Repair Kit for Car & Moto
Tire Repair Kit for CarMotoCard packing/ setsSpecification:L-handle tire plug tool/ 1pcL-handle screw drill/ 1pcTire seal 10cm x 5strips (4″)/ 1pcPacking:24 cards/ Inner box6 inner boxes/ CTN.CUFT: 3
|
2026-05-14 |
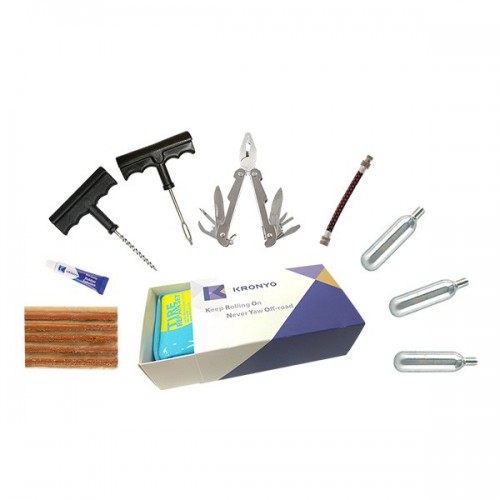 |
TCAR-08BA Tire Repair Set (PVC CO2 repair kit bag box)
Tire Repair Kit for CarMotoEco-friendly packing/ bagsSpecification:Rubber Co2 repair kit bag/ 1pcCo2 cylinder 16g/ 3pcsRubber Solution 7ml/ 1pcT-handle tire plug tool/ 1pcT-handle screw drill/ 1pcTire
|
2026-05-14 |
 |
TCAR-01W Tire Repair Kit for Car & Moto
Tire Repair Kit for CarMotoBag packing/ bagsSpecification:Nylon Co2 repair kit bag/ 1pcCo2 cylinder 16g/ 5pcsRubber Solution 7ml/ 1pcT-handle tire plug tool/ 1pcT-handle screw drill/ 1pcTire seal 10cm
|
2026-05-14 |
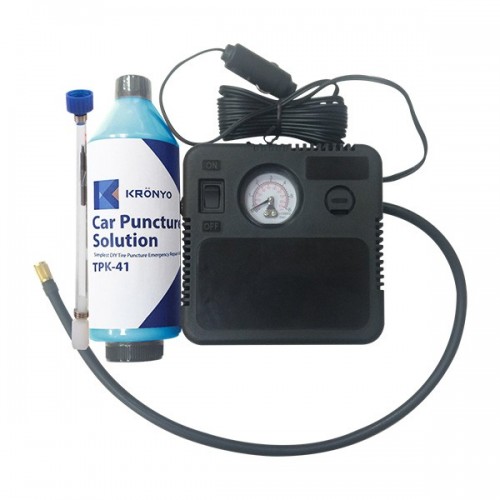 |
TPK-42 Car tire sealant kit (350ml)
kit/ CTN.Car tire sealant 350ml/ 1pcCompressor/ 1pcInjector tube/ 1pc1.Raising the tire first then pulled out the nail. (do mark)2.Place valve at 5-7 o’clock position and remove valve cap and core.3.
|
2026-05-14 |
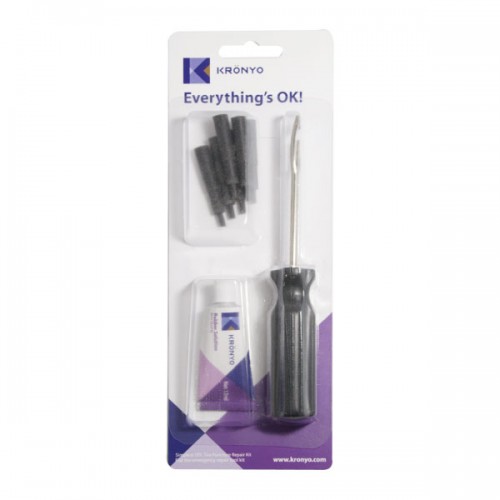 |
TCAR-71 Tire Repair Kit for Car & Moto
24 cards/ inner box6 inner boxes/ CTN.Specification:Assorted plugs/ 6pcsTire plug toolParallel handle/ 1pcRubber solution 12ml/ 1pc1.Pull out the nail from tire.2.Clean the injury with the open end in
|
2026-05-14 |
 |
RS190-05 Rubber Solution
Specification:Rubber Solution24 cards/ inner box12 inner boxes/ CTN.Rubber Solution 12ml/ 1pc 1.Rub off the part to be mended larger then the patch in size.2.Apply slight rubber solution to the part t
|
2026-05-14 |
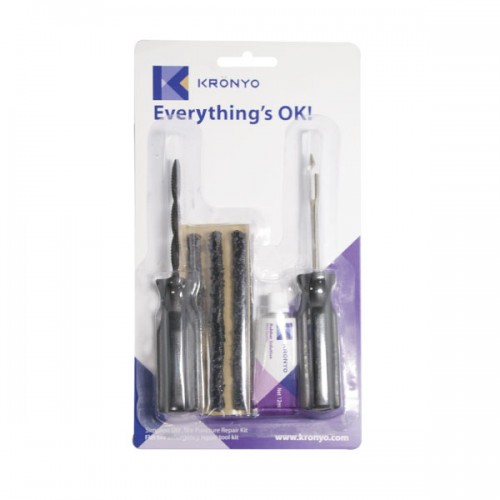 |
TCAR-72 Tire Repair Kit for Car & Moto
12 cards/ inner box6 inner boxes/ CTN.Specification:Tire plug tool Parallel handle/ 1pcScrew drill Parallel handle/ 1pcTire seal 10cm x 5 strips(3”)/ 1pcRubber solution 12ml/ 1pc1.Pull out the nail f
|
2026-05-14 |

 News
News